
1. camera ( duh ! )
2. 2 lights ( whatever available lights will do, more will do too )
3. a table to place the set up.
4. a black background ( anything black that could be use for the bg, paper, t-shirt etc )
5. incense ( i used those for aromatherapy )
6. a tripod ( optional )
7. cable release ( optional )
8. photoshop or other digital imaging software capable of doing it.
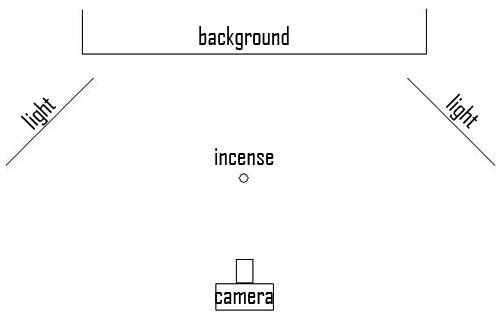
the set up :
set ur background, for those using papers u could lean it against the wall.
for those using a black t-shirt, somehow someway get it upright.
i tried using both the paper and a black t-shirt.
give a little space better your background and ur incense.
place the two lights between that spaces, ie. between your background and incense.
hermm...i think this image will help you better.
next...
start burning that incense !
the setting for the camera i did was at,
ISO : 100
speed : 1/200
aperture : f/5 ( narrower is recommended )
i used my trusty canon eos 400d with the canon ef 50mm f/1.8 II attached to it and used manual focus.
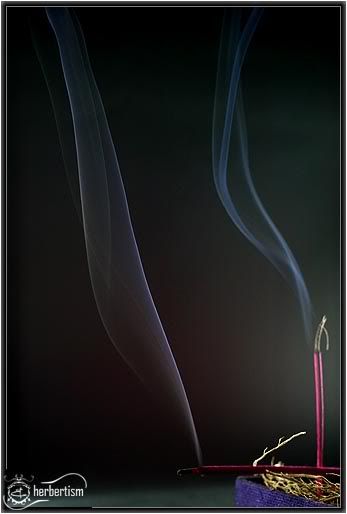
your outcome should be something like this or better !
you could place the incense anywhere or even move it around to get different shapes of the smoke.
then its editing time :)
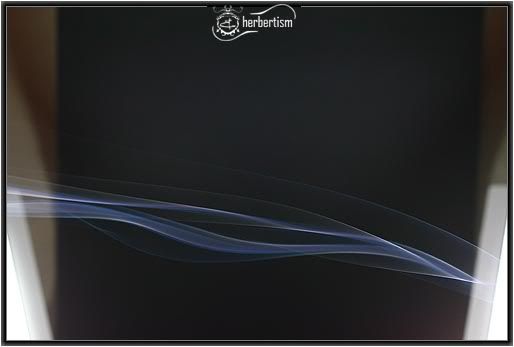
crop it to your preference, then do some leveling ( ctrl + l ) to get the background really black and just play around with it. you can also increase the sharpness ( filter - sharpen - sharpen ).
that is what i cropped after leveling and sharpening it a little.
the next step is easy and the most fun of all.
use your creativity here !
flip it horizontally, vertically, whatever side and angle you wish.
duplicate the layer and blend it with 'lighten' ( click the drop box arrow of 'normal' at the layer pallet at the right bottom corner of your screen.
change the hue/saturation if you want.
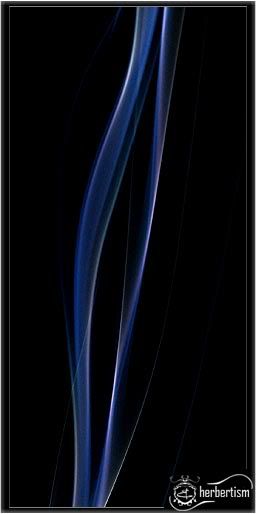
my outcome :
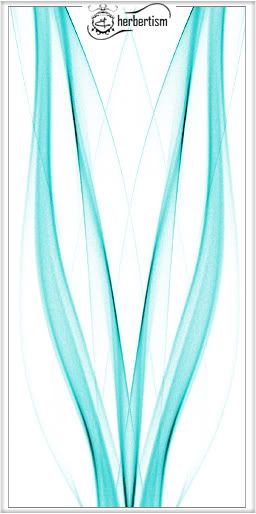
how did i get the white background ?
simply press ctrl + i in photoshop to invert the colors of your image.
now go try !
and show me your results !


1 comment:
i love this! thanks for th etips!
Post a Comment